


I like color, but more often than not I find myself toning down most of my photos and not embracing the bright colors. Last evening I was building towers with my kiddos in their bedroom, and when I saw these shots on my little LCD, I knew I couldn't make them black and white or muted, they had to keep that punch.
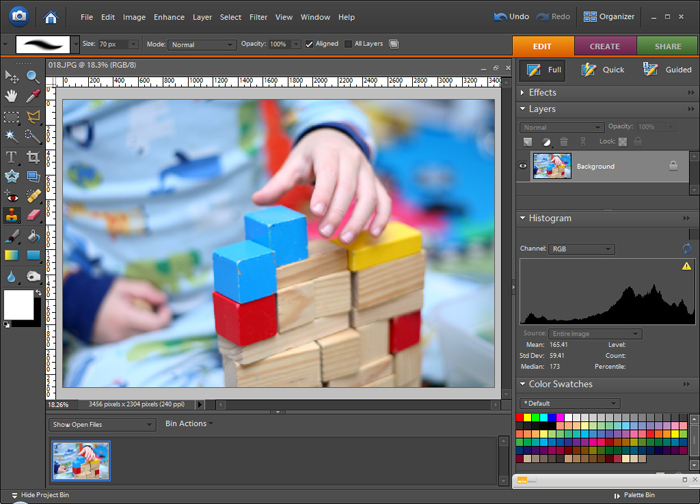
This is the photo with a bit of levels adjusted.
First I made a duplicate of my background and opened up SmartCurve. I made an S Curve and how I did this was by holding down ctl and selecting a lighter area (highlight) and it placed the top marker on the curve. Then I held down ctl and found a shadowed area, clicked it and it placed the lower marker on the curve. Then the top marker is dragged to the left, lower marker dragged to the right, and there's the S Curve. The S curve is good for adding contrast and bringing out color. I don't know the science behind it, I just know why my eyes see.
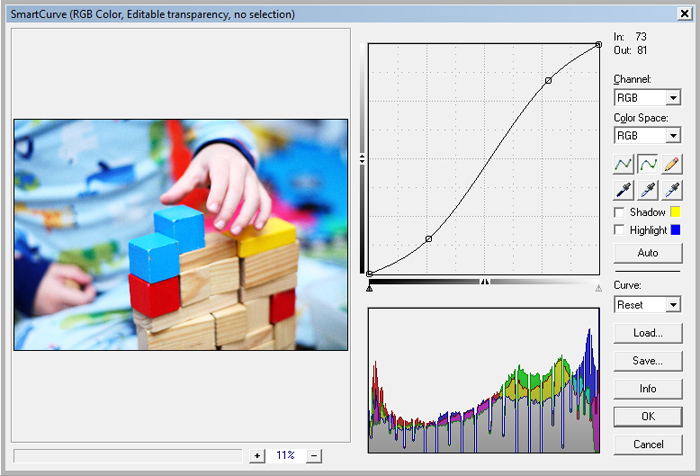
The reason I do the curves layer on a duplicated layer is because I want it to act like an adjustment layer, or non destructive. I want to be able to go back and tweak the opacity if it's too much or change the blend mode to give me a little something different.
I use blend modes a lot, and they are very neat things to work with. You can really change up the way a photo looks just by duplicating and changing blend modes. You should give it a shot, just duplicate the background of any image you're working on and go through the blend modes.
So with this curves 'adjustment' layer I changed the blend modes to see what I could get out of this simple S curve. The results are subtle, but each are nice in their own way.
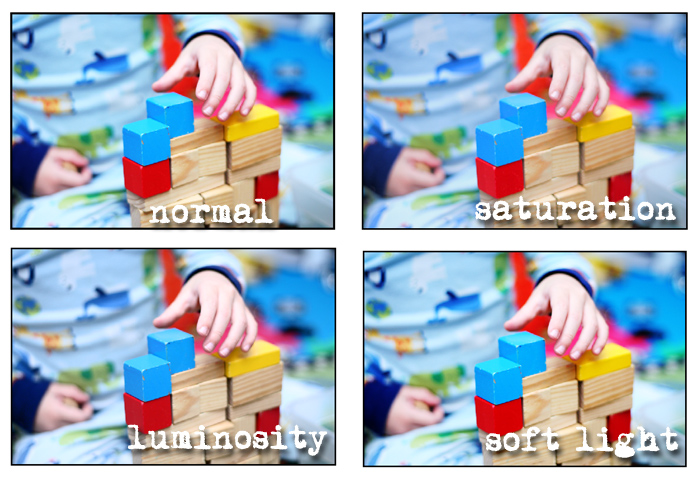
Normal: The photo is bright with nice contrast
Saturation: The colors are a little deeper and there's more detail because the lighter areas aren't so close to clipping
Luminosity: The colors became more deep, a little muted.
Soft Light: Pretty close to the normal mode, with a just a bit less brightness
At this point you could adjust opacity, maybe even duplicate this layer and try a new blend mode on top of another one or double up on the effect by duplicating and leaving the blend mode the same.

No comments:
Post a Comment